Before following this guide, you need access to your Docker container’s terminal in order to run these commands.
One time GitHub key setup - Must be done within the container
- Follow GitHub’s guide for setting up SSH keys, make sure to use the Linux tab. Follow the sections under “Generating a new SSH key” and “Adding your SSH key to the ssh-agent”.
- Make sure to follow the guide for adding a new SSH key to your GitHub account if you haven’t already.
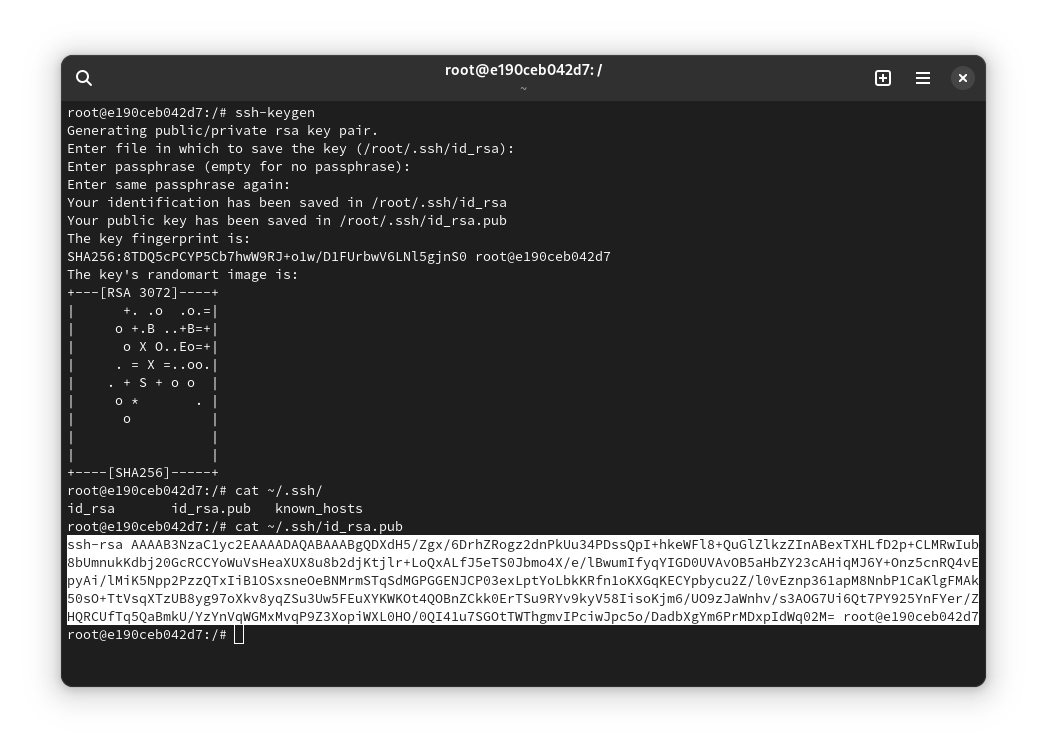
- Note: to print your public key (note: do not print or copy your private key… EVER!), you can run:
cat ~/.ssh/id_rsa.pub; - For example (throwaway, good luck using this key for anything).

- Note: to print your public key (note: do not print or copy your private key… EVER!), you can run:
Per-project Setup
- Create a github project instance by clicking on the github classroom invitation in the canvas assignment
- Clone project starter files into your container
$ cd /root/projects; git clone git@github.com:CSCI-442-Mines/f24-project-1-<username>.git
Developing your code
- After cloning the project, your project files will be under
/root/projects/f24-project-1-<username>.git. - Compile your code by running
$ make. - Run the binary that is specific to the project (for project 1 it is
./reverse). - Implement the project via your favorite editor.
- At the end of any programming session, or whenever you make any progress you want to save (feature complete, partially implemented, or you just don’t want to lose work), run
git commit -a && git pushin order to save your changes to you git repository.- We STRONGLY recommend doing this frequently, so you do not lose your work.
- It happens every semester where someone forgets to commit some major work and loses several hours of work, you don’t want to be that person.
- Take your screenshot to upload to deliverable 1 once the D1 requirements are complete.