Setup the Course Dev Container
INFO
This page contains instructions for setting up the course dev container and configuring Git inside of it. You will set this up once and reuse it for every project in this course.
DANGER
Failure to follow the instructions on this page exactly as presented may result in permanently losing your work for this course! You have been warned!
You will create a single dev container, which you will reuse for all projects in this course. The structure of your dev container at the end of this course will look like:
/workspace/: This is the directory of the dev container which is shared with your host machine. Any data outside of this directory will not be saved when the container is stopped..devcontainer/: This directory contains the configuration for the dev container itself. Do not modify this directory.scripts/: This directory contains miscellaneous scripts for the course. A course staff member will provide instructions on how to use these utilities, if necessary.README.md: This is the file you are currently reading. This file contains helpful reminders and instructions for using the dev container.SEMESTER-project-1-USERNAME/: This is your personal project 1 repository, whereSEMESTERis the current semester (e.g.:sp25) andUSERNAMEis your GitHub username (e.g.:ghost). It will be created for you when you accept the GitHub Classroom assignment for project 1 (in Canvas).SEMESTER-project-2-USERNAME/: Same as above, but for project 2.SEMESTER-project-3-USERNAME/: Same as above, but for project 3.SEMESTER-project-4-USERNAME/: Same as above, but for project 4.SEMESTER-project-5-USERNAME/: Same as above, but for project 5.
To set up the course dev container, first download this file and extract it to a directory of your choice (Somewhere that is easy to access and safe from accidental deletion). Then, open the top level of extracted directory in VS Code by any one of the following methods:
Note: when we refer to the system terminal below, we mean your operating system's terminal, as described on the Install Docker page.
- (Recommended) Open VS Code and select
File > Open Folder...: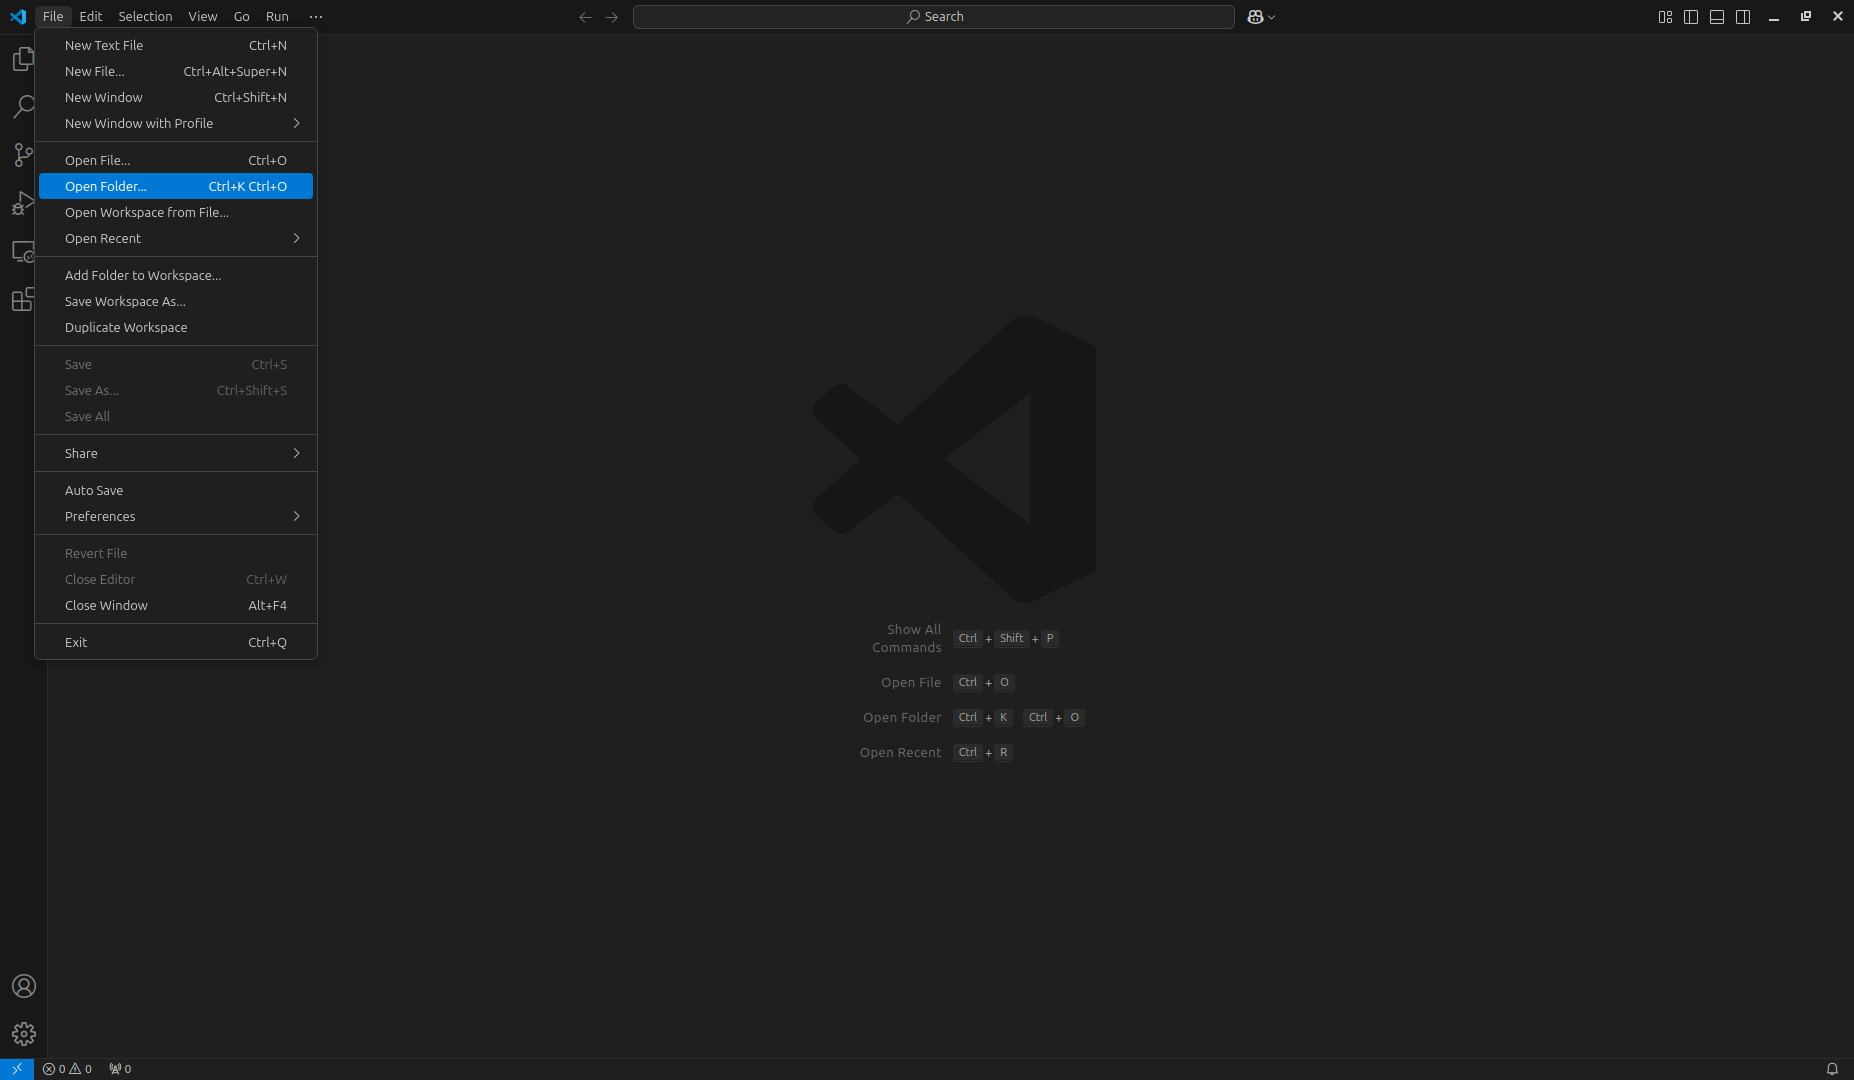 Then, navigate to the directory where you extracted the course dev container. You should see VS Code switch to the directory you selected.
 - Right-click on the directory and select
Open with Code. You should see VS Code open with the directory loaded in the window. Note that this option may not be available on all systems. - Run
code PATH_TO_DIRECTORYin your system's terminal (WherePATH_TO_DIRECTORYis the actual path to the directory). You should see VS Code open with the directory loaded in the window.
Now that you have the directory open in VS Code, you should see a popup notification, typically on the bottom right of the window, that says Reopen in Container:
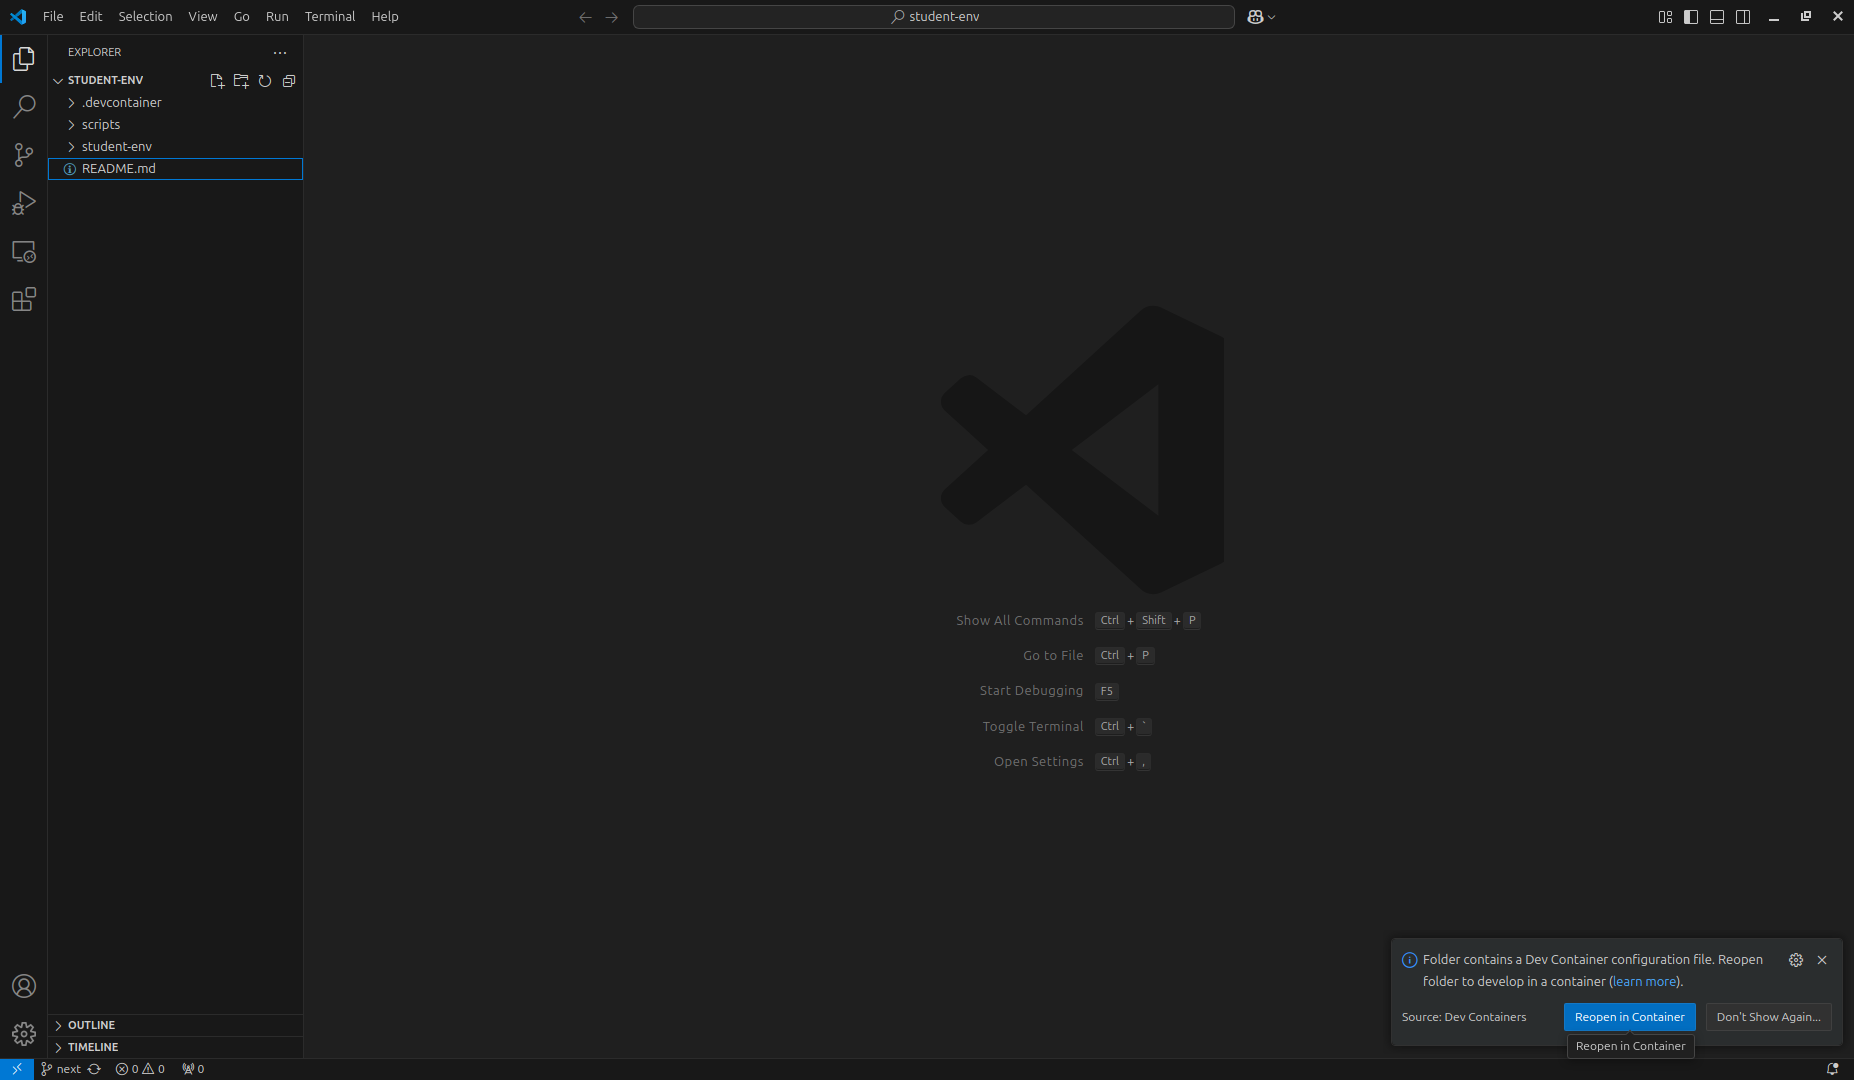
Click on Reopen in Container to build the dev container (which can take a few minutes). Once the container is built, the loading bars will disappear. Open the integrated terminal (Not the system terminal) by selecting Terminal > New Terminal from the top menu:
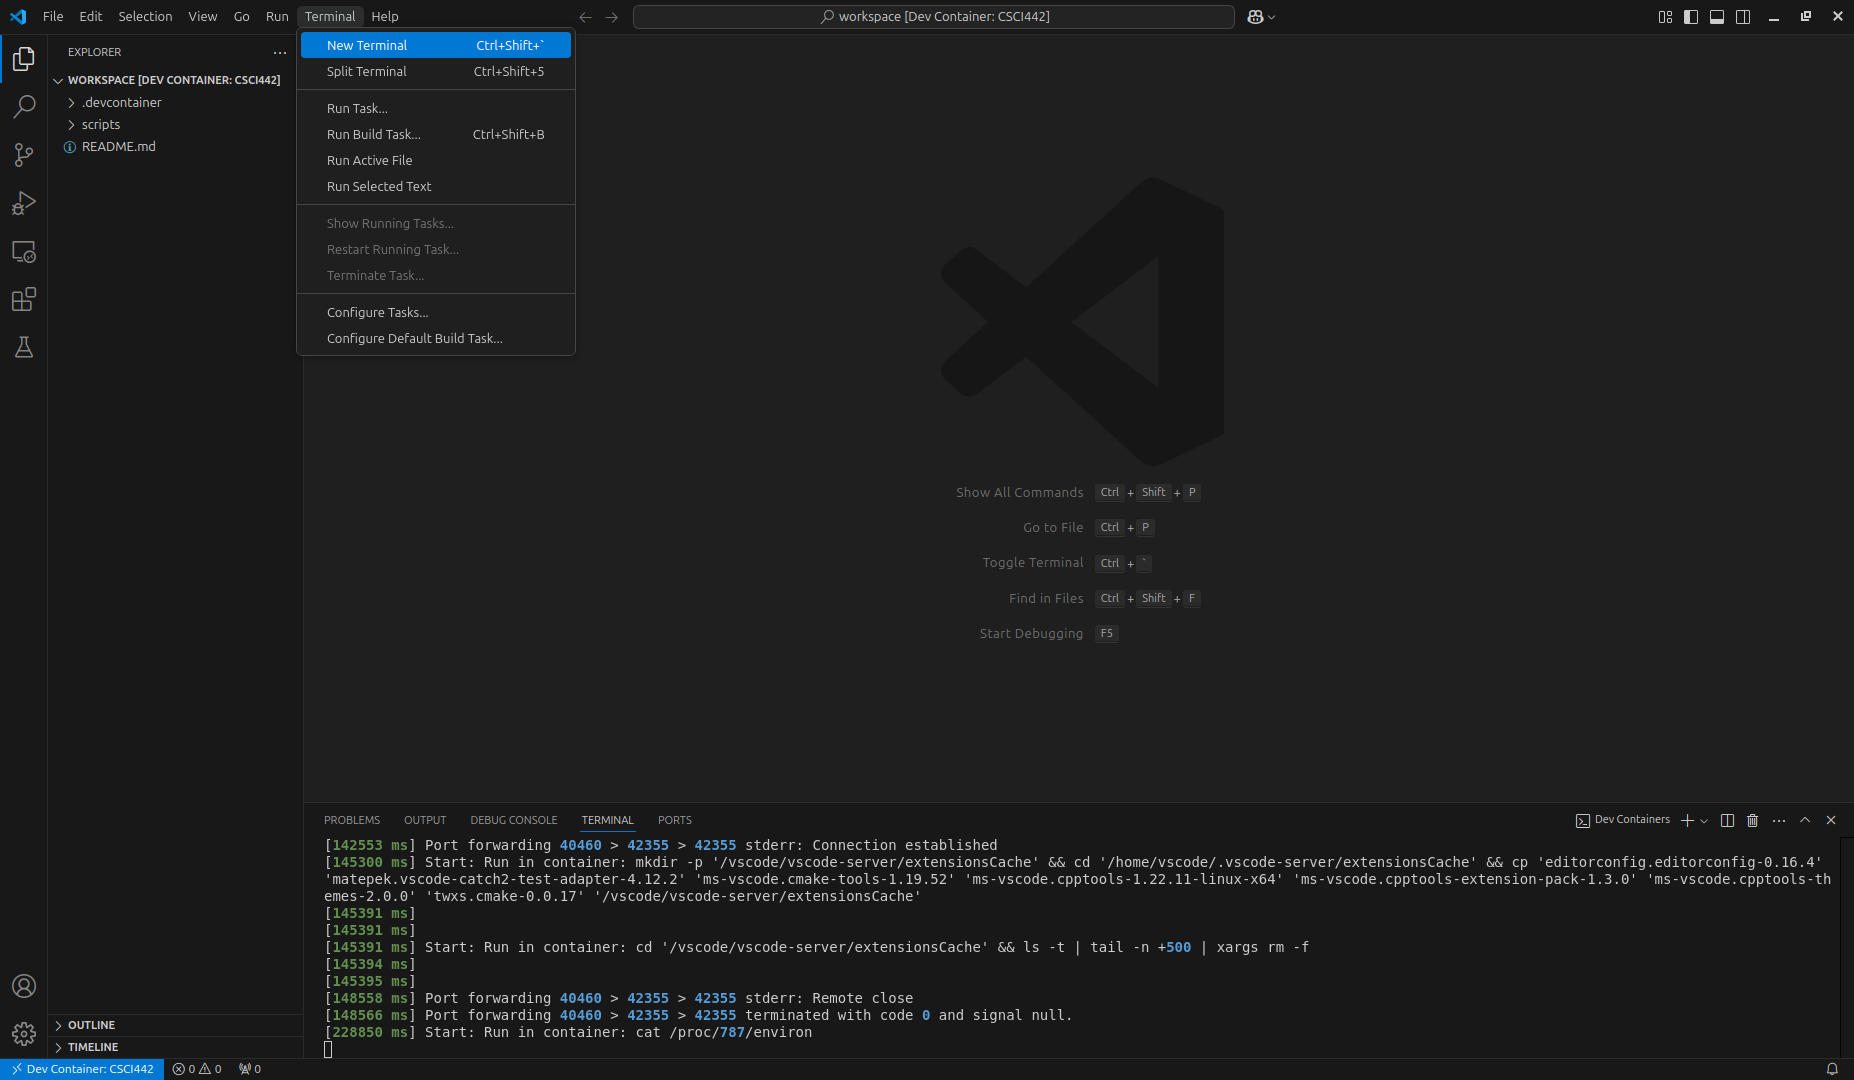
You should see a terminal window open at the bottom of the window:
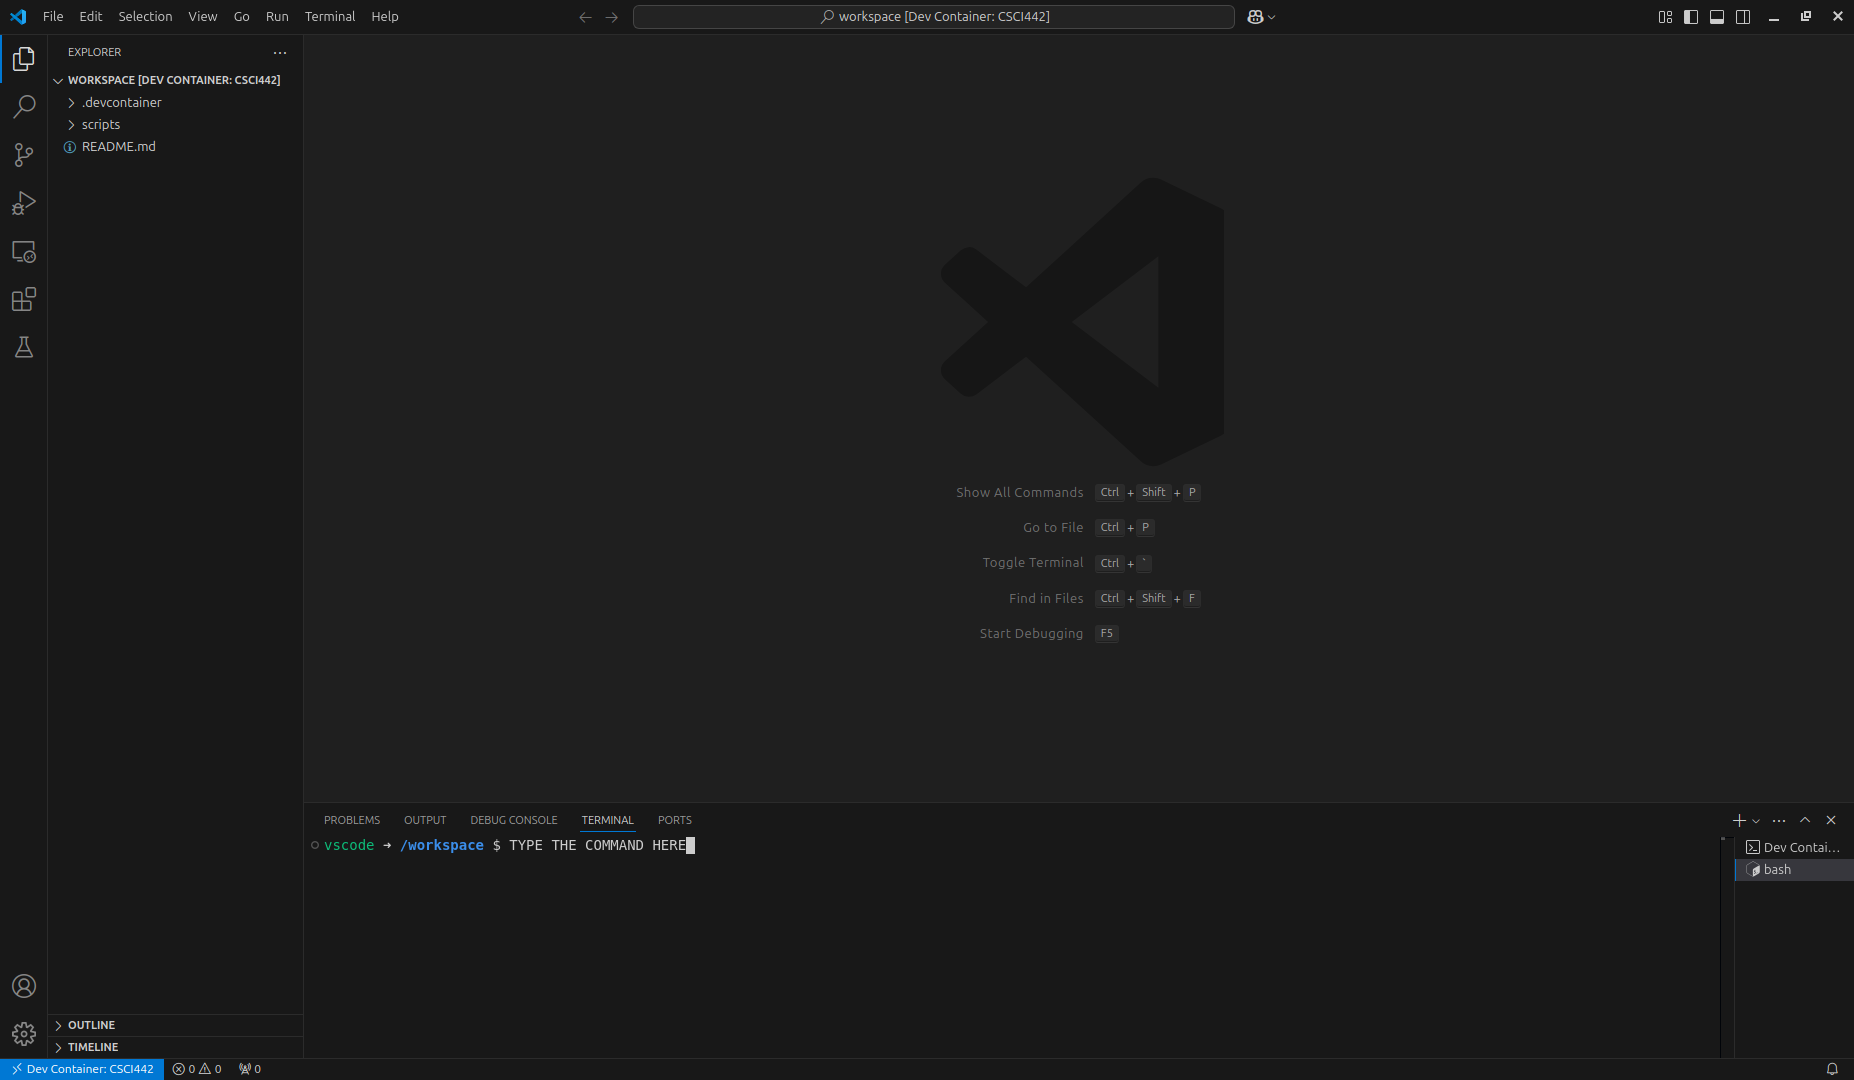
In the integrated terminal, run the following command to verify that the dev container is correctly set up to save your work:
touch /workspace/hello-world.txtIf you navigate to the directory where you extracted the course dev container in your system's file explorer/viewer, you should see a new file named hello-world.txt. If you do not see this file, please double-check you've followed the instructions above and try again. If you still have issues, please stop immediately and reach out to the course staff for help.
WARNING
Do not proceed past this point until you have verified that the dev container is correctly set up to save your work!
Setup Git Inside the Dev Container
First, configure Git with your name and email address by running the following commands in the integrated terminal:
git config --global user.name "YOUR_NAME"
git config --global user.email "YOUR_EMAIL"
Where YOUR_NAME is your GitHub username (e.g.: ghost) and YOUR_EMAIL is the email address (e.g.: ghost@example.com).
Now, let's set up authentication with GitHub. You can use any one of the following methods:
(Recommended) Clone a private repository from GitHub for the first time using HTTPS. When you clone a private repository using HTTPS for the first time, you will be prompted to authenticate with GitHub:
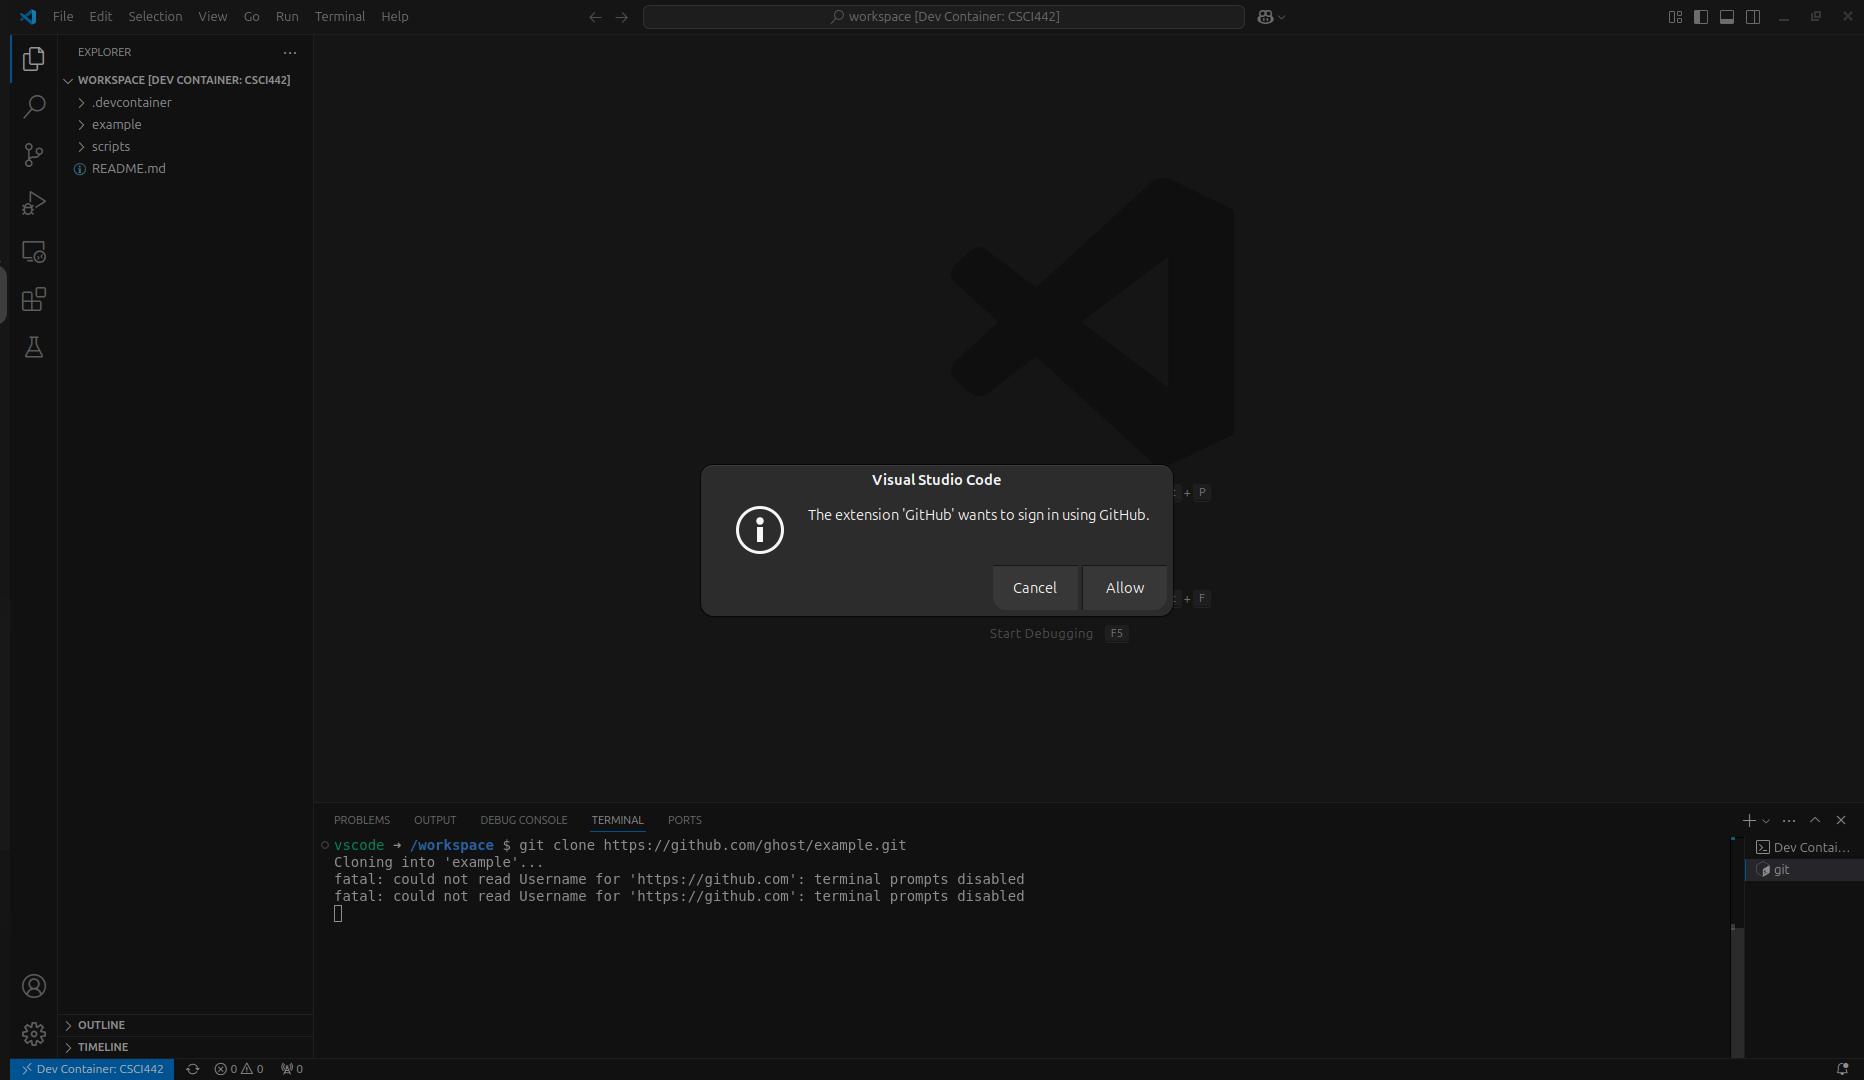
Click
Allow, and follow the prompts to sign in with your GitHub account. Note that if you do not use the HTTPS URL, you will get an error message when cloning the repository.Manually setup SSH keys. You can follow the detailed instructions here, but in short, generate new SSH keypair by running the below commands in the integrated terminal:
shellssh-keygen -a 100 -t ed25519 -N "" -f ~/.ssh/id_ed25519Then, get the public key with:
shellcat ~/.ssh/id_ed25519.pubFinally, go to your GitHub SSH keys settings, click
New SSH key(NotNew GPG key), give a descriptive title, set the key type toAuthentication key, copy-paste the public key into the key field, and clickAdd SSH key.
TIP
Once you've completed the setup instructions above, head over to the Per-Project Setup page for instructions on creating and cloning a repository for each project in this course.
Common Issues
VS Code Takes a Very Long Time to Build the Dev Container/Fails to Build the Dev Container
Symptom: building the dev container takes a very long time (e.g.: 20+ minutes) or VS Code fails to build the dev container with an error message related to Docker.
Solution: this can happen if you have a slow/dysfunctional internet connection or computer. To workaround this, we provide a pre-built dev container image (
ghcr.io/csci-442-mines/student-env). To use it, edit the.devcontainer/devcontainer.jsonlike so:diff// Use the prebuilt image (Mutually exclusive with "build"!): - // "image": "ghcr.io/csci-442-mines/student-env:latest", + "image": "ghcr.io/csci-442-mines/student-env:latest", // Build the image yourself (Mutually exclusive with "image"!): - "build": { - "dockerfile": "Dockerfile", - "context": ".." - }, + // "build": { + // "dockerfile": "Dockerfile", + // "context": ".." + // },Note: the
+and-symbols are non-literal and are used to indicate lines that should be added and removed, respectively. If you don't already have animageline, you can just add theimageline like above and comment out thebuildsection.Then, rebuild the dev container by clicking on the green
Reopen in Containerbutton in the bottom right corner of the window or by opening the command palette (CTRL+SHIFT+PorCMD+SHIFT+Pon Mac) and typingDev Containers: Rebuild Container.
This page created with the help of Claude AI.